Now Introducing BodySite’s Telemedicine Virtual Clinic
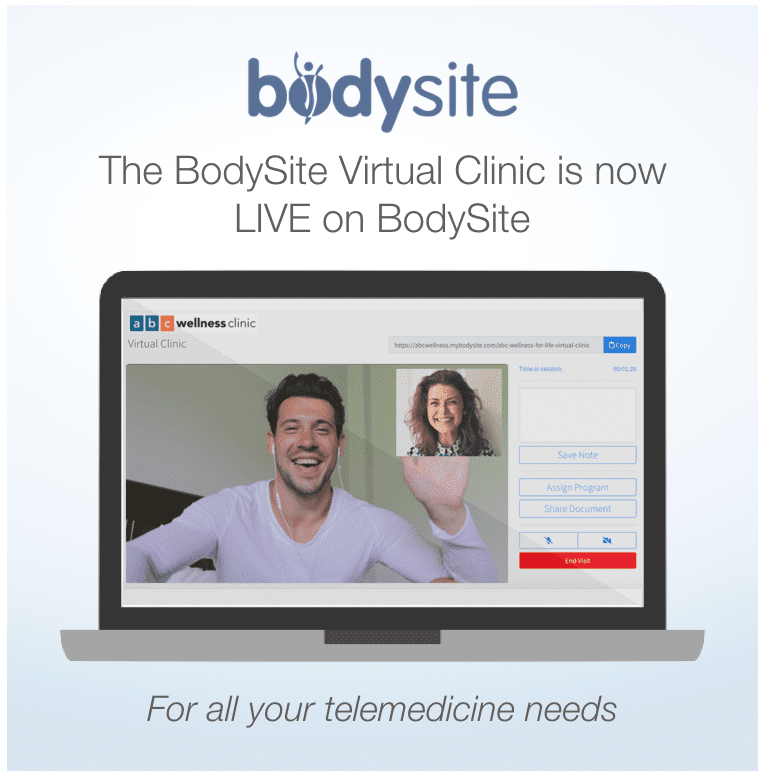
BodySite is proud to announce the newest feature of our platform: FREE telemedicine with the BodySite Virtual Clinic. If you’re already a BodySite provider, the Virtual Clinic is already available in your account. If you’re not a client yet, try it free here. Learn more about BodySite’s telemedicine Virtual Clinic below and unlock the power of remote patient care and monitoring in your practice.
Use BodySite to handle all your remote patient care needs, now including telemedicine and telehealth. BodySite is your one-stop-shop for lifestyle and wellness program delivery, patient compliance monitoring, tracking progress, telemedicine, and so much more.
Many of you have been using Zoom or even FaceTime and Google Hangouts for telemedicine recently. These are great solutions, but the BodySite Virtual Clinic is your complete telemedicine solution and it’s already inside your BodySite account.
In your provider account, you will now have a Virtual Clinic button on the main navigation of your account and on the app once your Virtual Clinic is enabled. Just click Settings and then Platform Settings to turn on and enable your Virtual Clinic for your BodySite account.
When you click on the new navigation item for the Virtual Clinic, you’ll see the provider view of the Virtual Clinic waiting room. Here you’ll find some instructions on how to use your Virtual Clinic Settings, how to preview what it looks like to the patient, how to share the Virtual Clinic link with your patients, virtual clinic settings, a session history of past sessions, and other details related to the Virtual Clinic.
In order for patients to meet with you, you’ll need to specify that you’re available. From the Virtual Clinic Settings, you can set the days and hours you’d like to be available for a virtual visit. You can turn your availability on or off manually any time, but you can also specify default hours that you’re going be available each day and during those hours, your availability will be on automatically. You can choose your default hours for seven days a week or just select Monday through Friday. Once you choose your available hours, you can always mark yourself available any time, even if it’s outside of your default hours. You can also mark yourself as unavailable at any time, even if it’s during your set default hours.
If you don’t want patients to be able to check in for walk-in visits, don’t set up default available hours and instead, just use the scheduler so patients can schedule visits with you in advance. You can learn more about scheduling visits on the Virtual Clinic here.
When you turn on your Virtual Clinic, all staff that have Team Member accounts will be able to make themselves available for visits. Each staff member can customize their own default available hours and toggle their availability on or off as needed.
It’s up to you to choose whether your sessions will be Free ($0) or if you will charge for your visits. As of February 2022, you can actually charge a different fee for every visit on BodySite. Learn more about charging different prices for your visits at the bottom of this post. If you’re charging for the visits, the payment will automatically be processed when the patient checks in. They will receive a confirmation email of payment immediately. If they cancel the session before you initiate the visit with them, your patient will automatically be refunded. If you’d like to charge for your sessions, make sure to set up Stripe under Settings > Platform Settings. You can also use your own billing system if you’d like too. If you do that, you’ll want to make sure that you’ve received payment before initiating the visit with your patient.
When you set up your Virtual Clinic for the first time, you’ll want to specify a phone number. When you’re not available for a visit, the virtual clinic page will indicate to the patient that the clinic is closed, display your phone number in case they need to call you, and include a message that says if they have any type of medical emergency, they should call 911.
The Virtual Clinic Description will display on your Virtual Clinic landing page before a patient checks in. This description is a place to offer guidance to your patients on what they can expect from their visit as well as any instruction you think they might need. We’ve already created a default set of instructions for your convenience but you can customize as you see fit with your own text, video, photos, hyperlinks and more. Once you’ve saved your changes, you can use the “Preview Virtual Clinic as Patient” button to see how it will look for your patients.
To make this super simple, you have your own unique clinic URL right on the top of the page. You can immediately copy your unique virtual clinic link and share it anywhere with your patients or clients. You can email your Virtual Clinic URL to your list of patients, text it to someone, put it on your website, or even share it directly to Facebook or another social media platform. If you’d like, you can edit this link in your Platform Settings to customize it.
Your patients will have access to the Virtual Clinic from the web platform as well as the BodySite app, or they can just click on the Virtual Clinic link you’ve provided them. The BodySite virtual clinic works on any computer or device with a microphone and camera.
When they arrive, they’ll see your instructions on how to get started. The check in button is obvious and the process is a breeze. From that page, your patients will see if you’re available or not. If you are, they can check in with available providers to start the process. They will provide their email address and if they already have a BodySite account with you, they’ll log in to check in and be added to the queue of people waiting for you within a couple seconds. If they are already logged into BodySite, they won’t even need to log in!
If someone doesn’t already have an account in your system, we’ve made this really easy for you too. They’ll be asked for their name and phone number and then be added to your waiting room queue. New patients will not have to activate their account to start the session so it’s easy with absolutely no friction.
If you’re charging for your sessions, your patient will pay right after entering their information. The payment will automatically be processed and they will receive a payment confirmation email immediately. If they cancel the session before you initiate the visit with them, they will be refunded.
Once someone checks in, they will be added to the queue in your waiting room view and you’ll immediately get an email telling you about this. You’ll also get a Push Notification from the BodySite app if you have the app downloaded on your iPhone or Android. In upcoming enhancements, you’ll also get a desktop notification while actively logged into BodySite.
Once a patient is checked in, they will land in a waiting room. From this page, they’ll know what spot they are in the queue. While they wait, we’ve included some instructions as well as the option to cancel if needed. They can also share a document with you while waiting if needed so you can access this document before or during their session.
When you click on a person’s name in the waiting room queue, you can check a few things before you start the session. You’ll see if the patients camera and microphone are initiated, the strength of their internet connection and their phone number in most cases.
From this view, you can share a document, view their patient record, start the visit or cancel the visit. Document sharing is a good way to send a consent or intake form before or during the session. Documents are shared securely and will also be stored in the patient record on BodySite, even after the visit. And, like you probably know, many PDF-viewers like Adobe and Preview already have a fillable function native to their software where patients can sign documents and upload their edited copy.
As you start the session, you’ll be asked to confirm your camera and microphone. Once the session starts, you’ll see yourself and your patient in a larger view. You’ll be able to do the usual things you do during a telehealth visit, such as share a document and take private notes while on the call. Documents shared by either party during the visit are securely stored in the patient record. Private notes are completely private to you. You’ll be able to share your screen and in an upcoming enhancements, share photos and chat in both the session and the waiting room. Unique to BodySite, you can actually assign a care program during the session. From the “Assign a Program” view, you can also take a look at their profile such as their current program, progress, and tracking.
DOWNLOAD OUR FREE WHITE PAPER: TELEMEDICINE TODAY
You or the patient can mute the mic or turn off the camera as needed. From the provider view, you can see the time you’ve been in the session so you can make sure you don’t run too long. You can also see the number of patients waiting in your queue while you’re in a session with a patient. We’ve also added an integrated calendar function so your patients can schedule virtual visits in addition to doing a walk in visit. You can learn more about scheduling visits at this link. You can also use your own scheduling system. Just include the link to your Virtual Clinic in your calendar appointment and make sure to indicate to your patient at what time they need to join your virtual waiting room.
To learn more about Virtual Clinic group telemedicine visits, click here.
We recently added the ability to charge a different fee for every visit type on BodySite. So, for example, maybe you want to offer free initial consults but charge a fee for follow up visits. With our new pricing options, you can! To charge different fees for every event type, do the following:
- Open the Virtual Clinic.
- Click on Manage Visit Pricing, near the bottom of the page. (Note: In order to use this feature, you will need to set up a Stripe account on BodySite. If you haven’t done that yet, first go to Settings > Platform Settings and connect a Stripe account to BodySite).
- Click on +New Visit Price. You can choose a label and a price for your visit price. (Note: You CAN create a visit price that’s $0 if you’re going to be offering free visits for some event types). Select Save+Create Price.
- Click on Manage Scheduling (Note: In order to see this option, you will have needed to add your calendar to your Virtual Clinic. If you haven’t done that yet, you can follow the steps outlined at this link to set up your calendar and scheduling system).
- Under any event types listed, you can click the pencil icon to the right of the price listed. A dropdown will appear with all of your visit price options. Choose your price and click Save to save your choice.
- Patients will pay this fee when they check in for a visit with you for that specific event type. Please call us at 561-247-3839 if you need any help.
We’ve found that providers who incorporate virtual and remote care in their practices enjoy three key benefits:
1. They provide better care to their patients
2. They enjoy more practice revenue and/or profit
3. They spend fewer work hours practicing
We want to help you save time, make more money, and provide better care. Let’s put the joy back into healthcare. Using BodySite, you can solve all of your remote patient care and monitoring needs. A BodySite client, Dr. Iris Crawford, ND said it best when she stated:
BodySite is a “Digital wellness and compliance platform that can function as a virtual practice or complement a brick and mortar practice to provide better patient outcomes without the extra work saving doctors time and money and bringing the joy back into healthcare.”
If you’re not already using the BodySite platform and app, click here to get telemedicine FREE for 30 days and choose the price that works best for your practice or business.